
FtpVC Screenshots

When FtpVC opens, the first dialog allows you to specify a user name and password, which are used only to identify you within the version control environment.
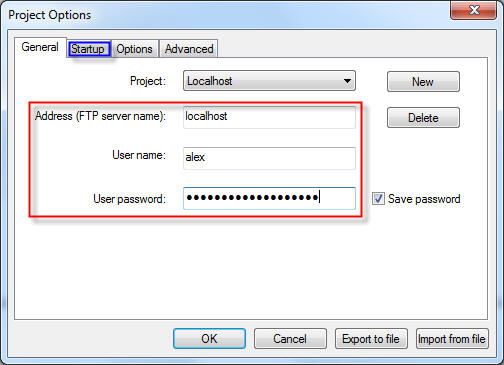
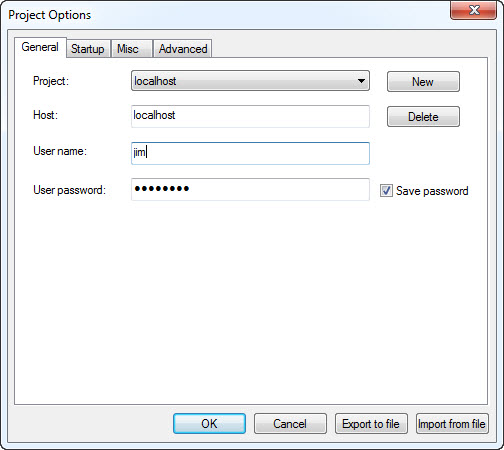
The Project Options dialog next asks for your FTP settings to connect to the server (required fields are highlighted in the screenshot). To set the local and remote directories you wish to connect to, go to the Startup tab.
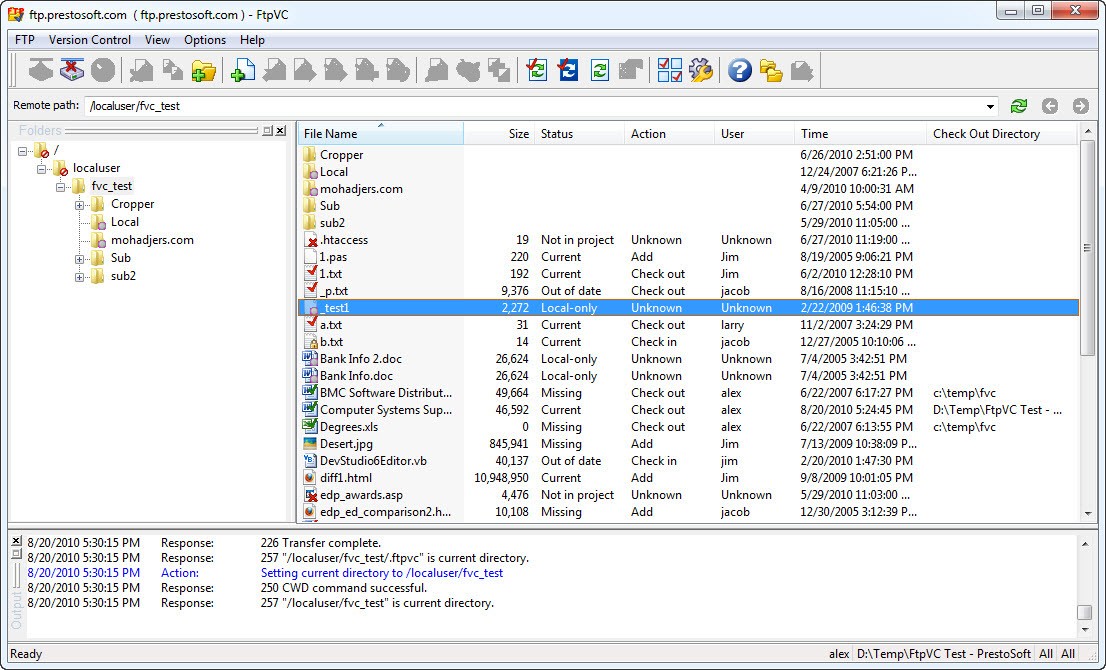
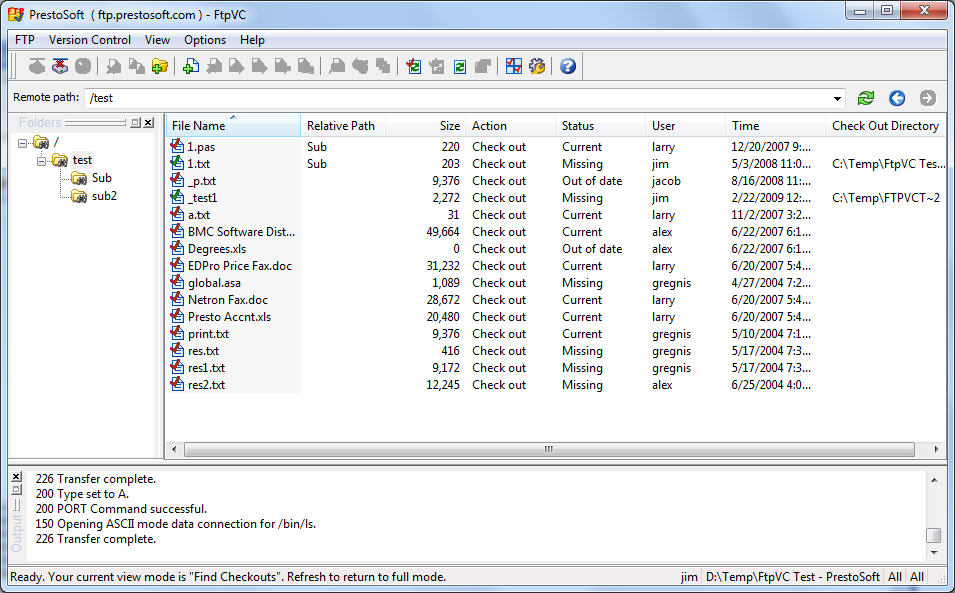
The main FtpVC window, showing the File List, Folder View, and Output panes.
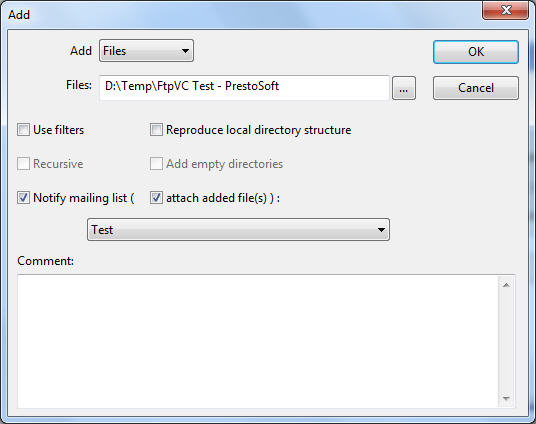
The Add command adds local files to version control and uploads them onto the remote server.
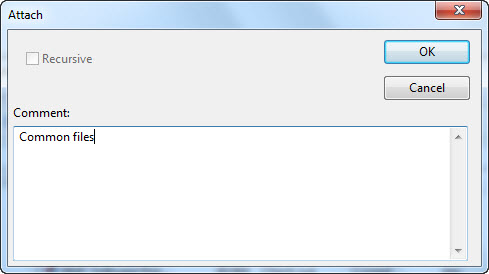
The Attach command adds existing remote files to version control.

The Get command retrieves the latest versions of files from the remote server into a local directory.
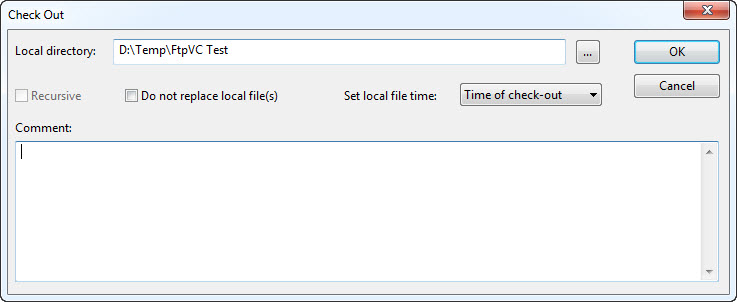
The Check Out command copies files from the remote server into a specified local directory and marks them as checked out on the remote server.
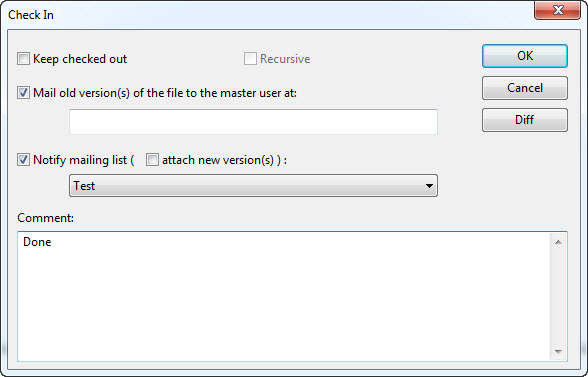
The Check In command copies local files to the remote server, and marks these files as checked in.

The Undo Checkout command undoes the check out of files on the remote server.
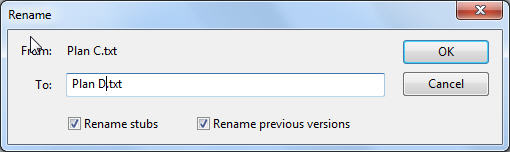
The Rename command renames a file or directory on the remote server, and optionally renames stubs and/or previous versions of files as well.
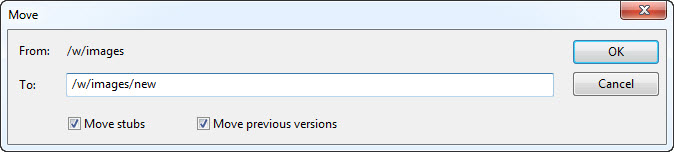
The Move command moves a file or directory on the remote server, and optionally moves stubs and/or previous versions of files as well.
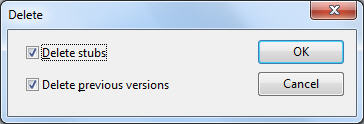
The Delete command deletes a file or directory on the remote server, and optionally deletes stubs and/or previous versions of files as well.
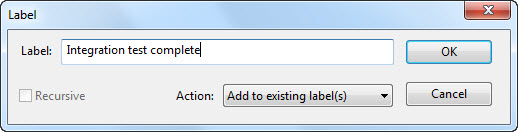
The Label command assigns a label to files on the remote server.
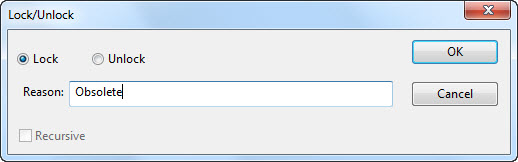
The Lock/Unlock command is used to prevent version control operation on remote files.
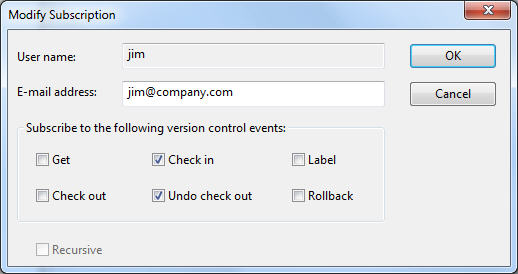
Use the Subscribe command to subscribe to version control events for remote files.
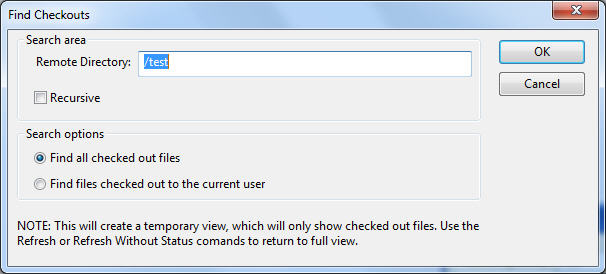
The Find Checkouts feature filters the File List so that only checked out items are shown.
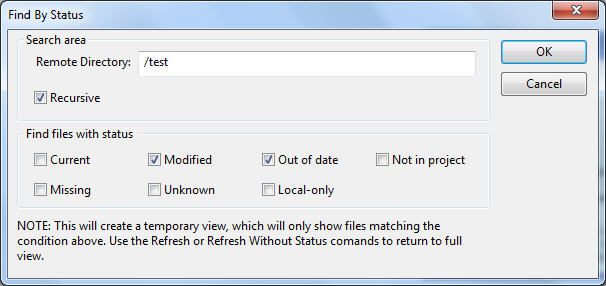
Similarly, when Find by Status is enabled, only files of a certain version control status are displayed.
When a Find option is enabled, FtpVC enters Find mode (denoted by special folder icons), where all directories are filtered. To exit Find mode, simply refresh.

The History dialog enables you to easily access past versions of files.
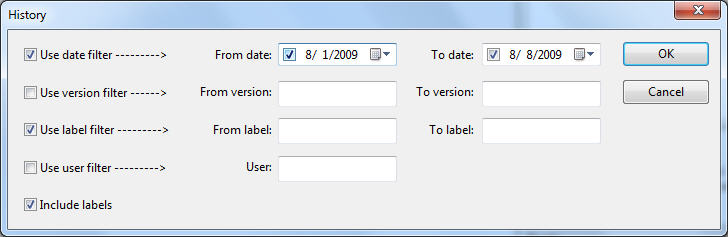
The History display is very customizable, and history items can be filtered by date, version number, label, and user.
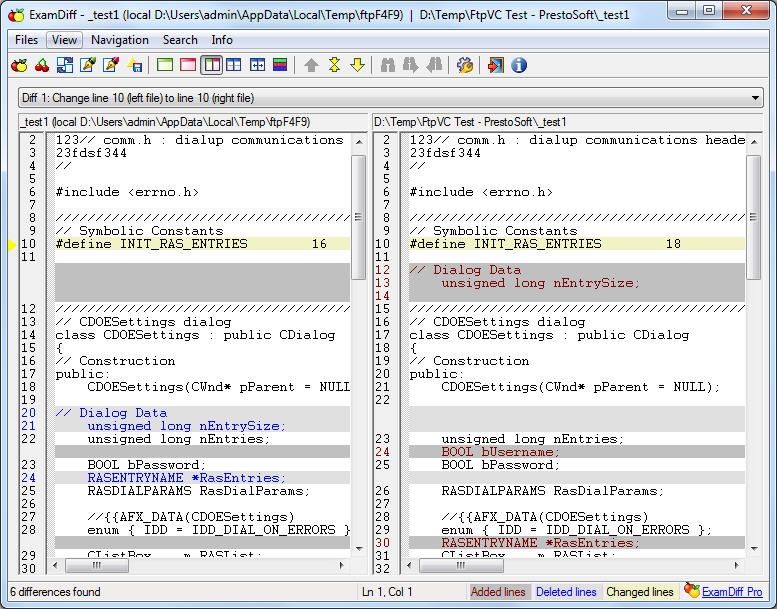
FtpVC lets you specify an external diff tool to compare different versions of a file. ExamDiff is used by default, and is included with FtpVC.

The Properties dialog shows file details, including status, labels, and comments.
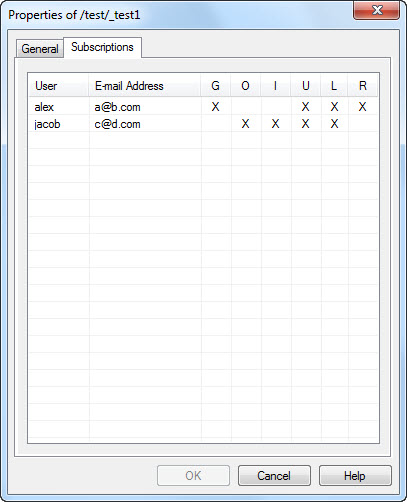
The Properties dialog also shows which users are subscribing to email updates for a specific file.
Project Options: General
This options panel establishes the FTP connection, and cannot be modified while connected to a server.
This options panel establishes the FTP connection, and cannot be modified while connected to a server.
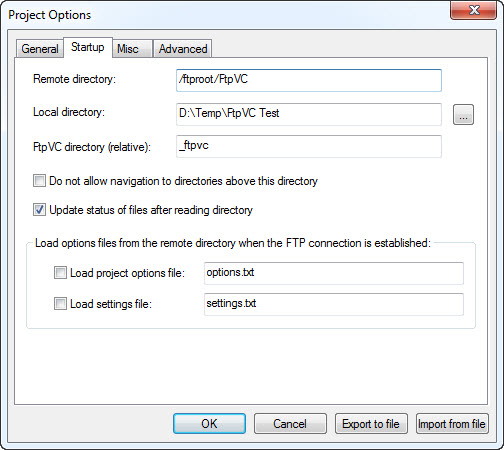
Project Options: Startup
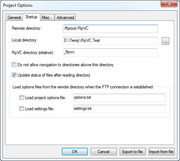
From this options panel, you can specify the local and remote directories for FtpVC to connect to.
From this options panel, you can specify the local and remote directories for FtpVC to connect to.
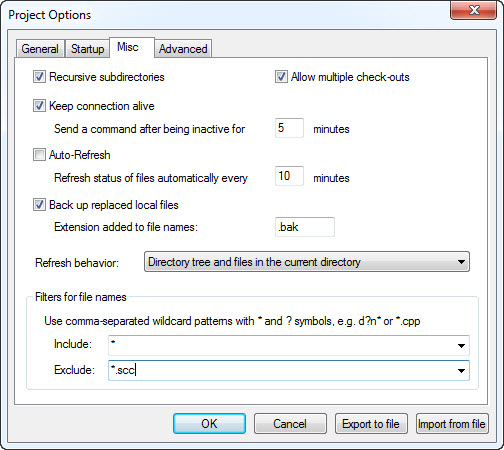
Project Options: Options
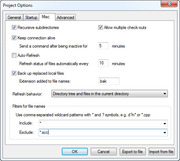
This options panel lets you specify additional project options, such as backing up local files, automatically refreshing, and filtering for file names.
This options panel lets you specify additional project options, such as backing up local files, automatically refreshing, and filtering for file names.
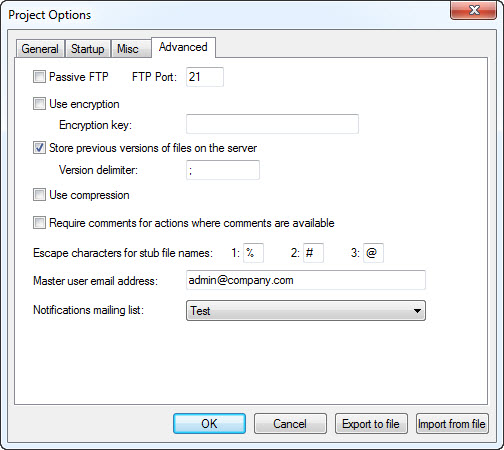
Project Options: Advanced
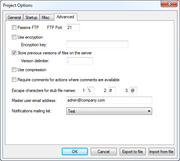
This options panel provides advanced options, such as using encryption or compression, and establishing a master user account.
This options panel provides advanced options, such as using encryption or compression, and establishing a master user account.
Settings: ASCII Extensions
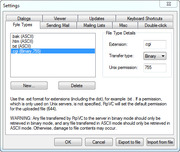
From this panel you can set which files (determined by extension) are transferred in ASCII mode, rather than binary mode.
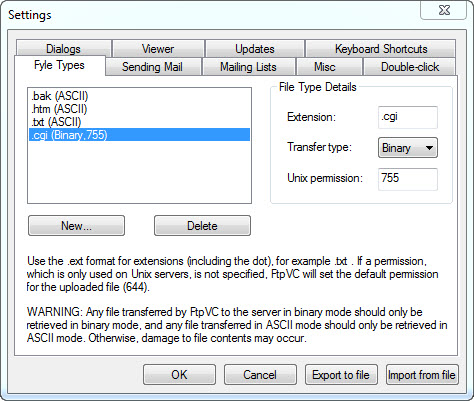
From this panel you can set which files (determined by extension) are transferred in ASCII mode, rather than binary mode.
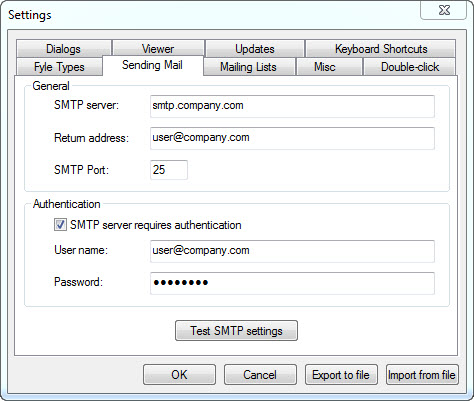
Settings: Sending Mail
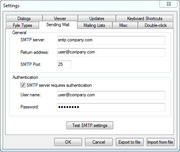
This options panel establishes the SMTP connection used for sending email notifications from FtpVC.
This options panel establishes the SMTP connection used for sending email notifications from FtpVC.
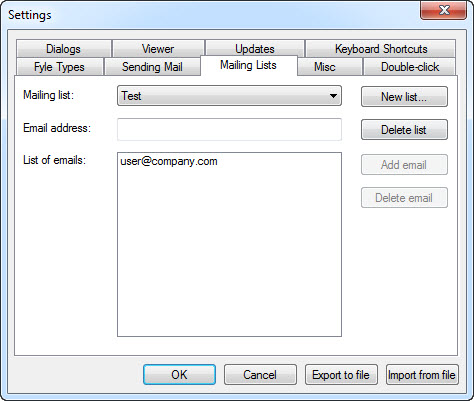
Settings: Mailing Lists
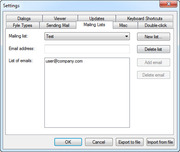
This options panel lets you set up mailing lists, composed of email addresses, to which email notifications can be sent.
This options panel lets you set up mailing lists, composed of email addresses, to which email notifications can be sent.
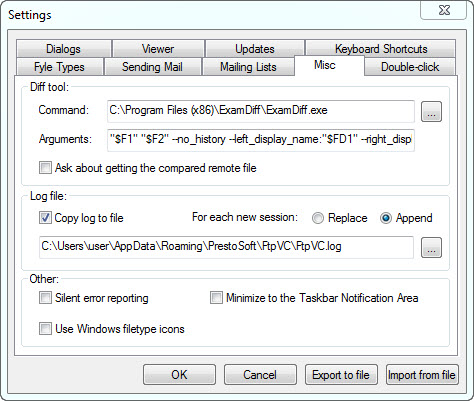
Settings: Misc
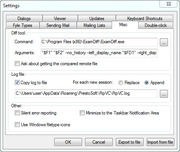
This options panel provides miscellaneous options, such as selecting the external diff tool and saving the FtpVC log to a file.
This options panel provides miscellaneous options, such as selecting the external diff tool and saving the FtpVC log to a file.
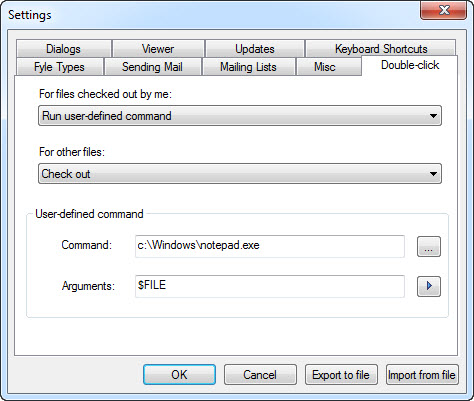
Settings: Double-click
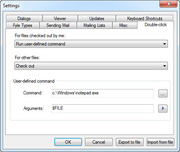
From this panel you can specify what actions take place when files are double-clicked.
From this panel you can specify what actions take place when files are double-clicked.
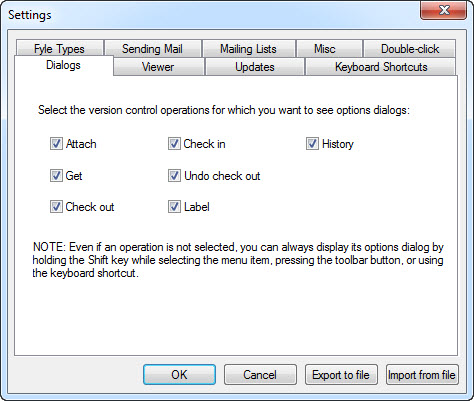
Settings: Dialogs

This options panel allows you to select version control operations for which you want to see option dialogs.
This options panel allows you to select version control operations for which you want to see option dialogs.
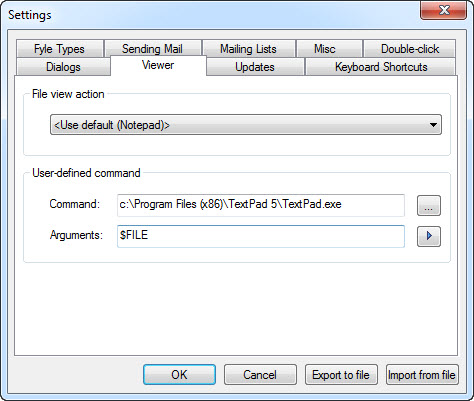
Settings: Viewer
This options panel lets you select the file viewer application spawned by FtpVC.
This options panel lets you select the file viewer application spawned by FtpVC.
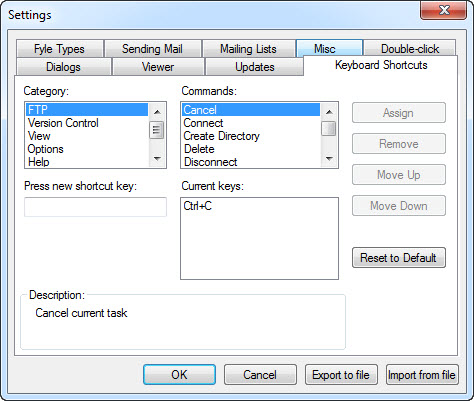
Settings: Keyboard Shortcuts
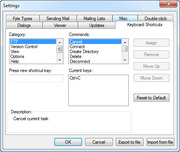
From this panel you can set keyboard shortcuts for FtpVC commands.
From this panel you can set keyboard shortcuts for FtpVC commands.
Copyright © 1997-2024 PrestoSoft LLC. All rights reserved.