
ExamDiff Pro Basic Tutorial #1
How to compare files
Tutorial Description: This tutorial describes various methods for comparing files.
Video Demonstration
Steps:
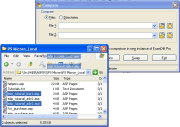
- Open ExamDiff Pro and select the Files option in the Compare dialog.
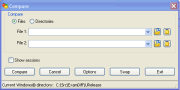
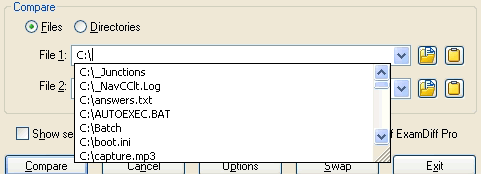
- The first way you can choose the files you want to compare is by typing the file paths
into the two text boxes. Note that these text boxes use AutoComplete - as you type a file
path the program will attempt to complete it.
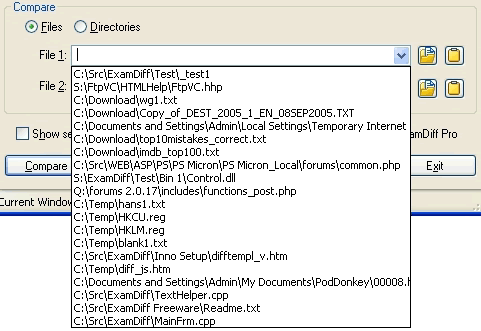
- Another way to select the files is by clicking on the a drop-down arrow. The drop-down
boxes remember the last 20 files you compared by default, and this number can be changed in
Options | Misc.
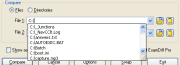
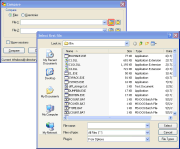
- A third way to specify the files is by clicking on the Browse buttons
 (the ones
closest to the text boxes), and then browsing for the files you want.
(the ones
closest to the text boxes), and then browsing for the files you want.
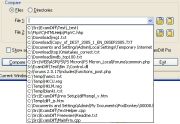
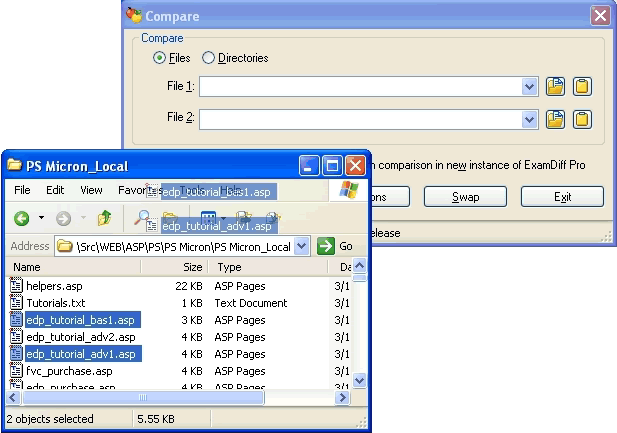
- Yet another way to choose the files is through drag-and-drop. Select a file or files from
anywhere outside of ExamDiff (preferably from Windows Explorer or some other file management
program) and drag them onto the Compare dialog box.
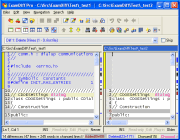
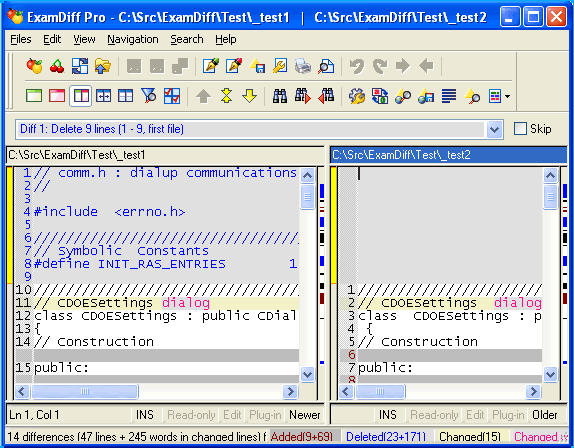
- Finally, after you have chosen the files to compare, click on the Compare button, and
the files will be compared.


Note: One more way to choose the files you wish to compare is through Shell extensions. This will be covered in a later tutorial.
Copyright © 1997-2025 PrestoSoft LLC. All rights reserved.