
ExamDiff Pro Basic Tutorial #5
How to print a diff report
Tutorial Description: This tutorial describes how to print a comparison report for a file, directory, or selection.
Video Demonstration
Steps:
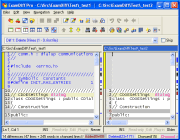
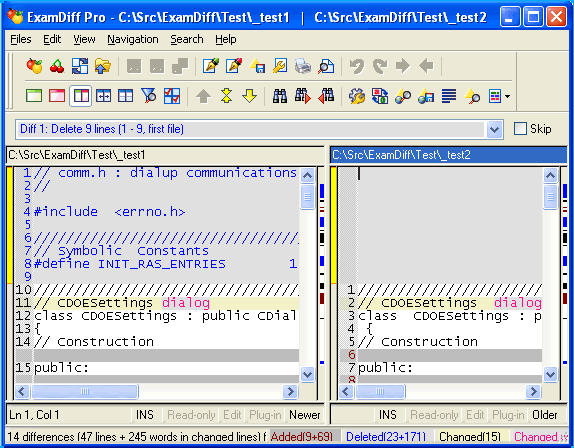
- Compare two files in ExamDiff Pro.
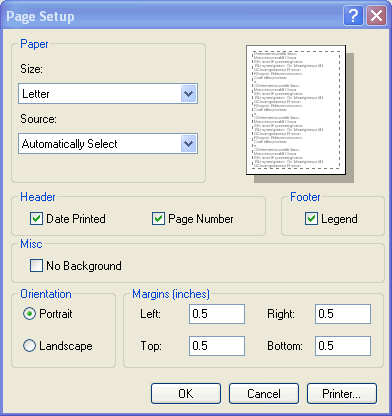
- The first step to printing a diff report is to go to Files | Page Setup (or click
on the Page Setup toolbar button
 ) and select the options
that you want. For the most part these options are self-explanatory, but one merits an
explanation: selecting No Background does not print any colored backgrounds, useful
for conserving ink.
) and select the options
that you want. For the most part these options are self-explanatory, but one merits an
explanation: selecting No Background does not print any colored backgrounds, useful
for conserving ink.

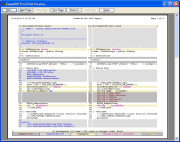
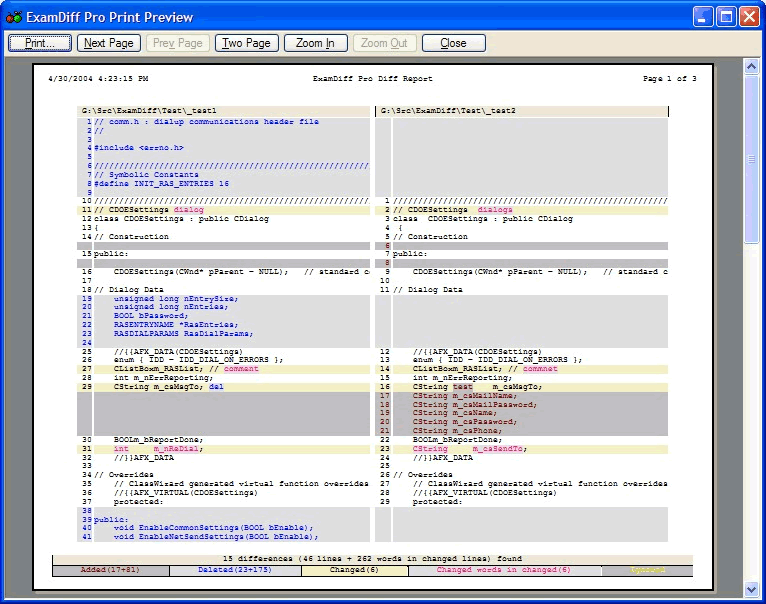
- Next, review the diff report you are going to print by going to Files | Print
Preview (or by clicking on the Print Preview toolbar button
 ):
):
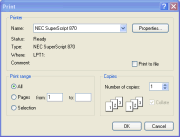
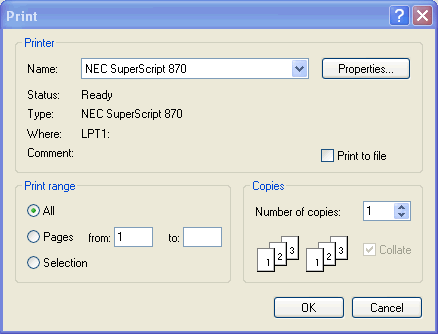
- Finally, press Ctrl-P to bring up the Print dialog. After making all necessary
changes, click on OK and the diff report is printed. Note: Clicking on the Print
toolbar button
 will print the
diff report without showing the Print dialog.
will print the
diff report without showing the Print dialog.
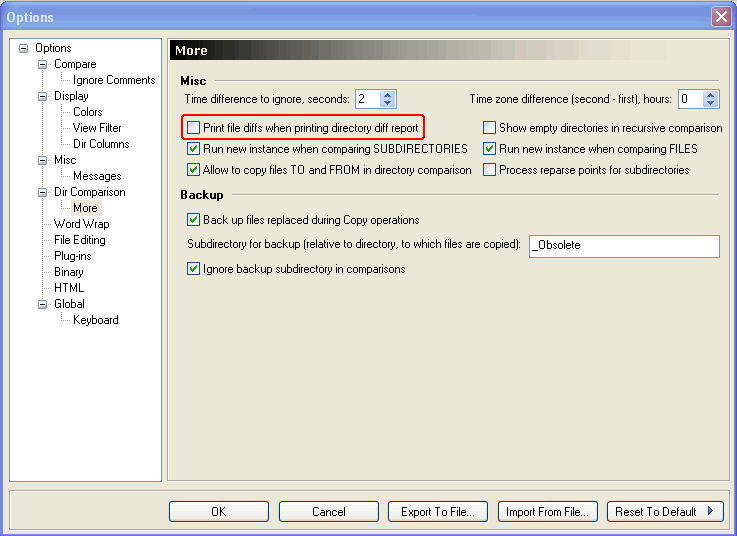
- Diff reports for directories are printed the same way as for files. Also, if the
Print file diffs when printing directory diff report option in Options | Dir
Comparison | More is enabled, whenever a directory diff report is printed ExamDiff
will also print diff reports for each pair of changed files.
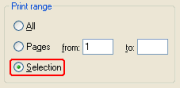
- Now let's try printing a diff report for a selection. Compare two files in ExamDiff, and
select a text fragment in either file. Press Ctrl-P and set the Print Range
option to Selection. This will print a diff report that contains only the selection,
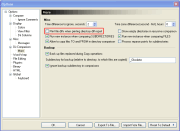
and the corresponding lines in the other file. Note: Checking the Default print uses
selection (if it exists) option in Options | Misc will make ExamDiff print the
selection by default, and will also make Print Preview show a diff report of the
selection.

Copyright © 1997-2024 PrestoSoft LLC. All rights reserved.